
Adding a slide deck to a Kaltura video is a practical way to make recorded lectures, training sessions, product briefings, and conference presentations easier to follow. In 2026, most organizations use Kaltura through Kaltura Video Portal, MediaSpace, or a learning management system integration such as Canvas, Moodle, Blackboard, or Brightspace. Although the exact labels may vary by institution, the core process is consistent: upload or locate your video, open the editing tools, add the slide deck or slide images, and synchronize each slide with the correct point in the video.
TLDR: To add a slide deck to a Kaltura video in 2026, open the video in My Media, choose Edit or Launch Editor, and use the available slide, timeline, or attachment tools provided by your Kaltura environment. The most polished method is to add slides as timed visual elements so viewers can navigate by slide while watching the video. If your organization has disabled slide synchronization, you can still upload the deck as an attachment or record the presentation again with Kaltura Capture. Always check captions, permissions, and playback on desktop and mobile before publishing.
Understand the Best Method for Your Use Case
Before you begin, decide how you want the slides to function. Kaltura can be configured differently across organizations, so the available tools depend on your administrator’s settings, player version, and user role. In general, there are three reliable ways to associate a slide deck with a video:
- Timed slide synchronization: Slides appear in the video player and change as the speaker progresses. This is usually the best option for lectures and presentations.
- Attachment upload: The slide deck is provided as a downloadable file beside the video. This is useful for handouts, compliance materials, or reference documents.
- Re-recording or recording with slides visible: Kaltura Capture records the slideshow as part of the screen capture. This is the simplest method when you do not need separate slide navigation.
If you want viewers to move through the recording by slide, use timed slide synchronization whenever available. If your goal is only to share the deck for later review, an attachment may be sufficient.
Prepare the Slide Deck Before Uploading
A clean and well-structured deck will reduce technical problems later. Before uploading, review the presentation carefully and remove anything that is unnecessary or risky. Avoid relying on unsupported animations, embedded media, or custom fonts unless your Kaltura environment explicitly supports them.
For the most predictable results, export the deck to PDF or individual image files such as PNG or JPG. Some Kaltura installations accept PowerPoint files directly, but PDF and image formats tend to preserve layout more consistently. If the deck contains speaker notes, decide whether those notes should be removed, included in a separate handout, or kept private.
- Use a standard widescreen format, usually 16:9.
- Keep slide text large enough to read on mobile devices.
- Compress large images before upload to reduce file size.
- Check that copyrighted materials are approved for distribution.
- Use accessible colors and meaningful slide titles.

Step 1: Open the Video in Kaltura
Sign in to the platform where your Kaltura media is managed. This may be your institutional video portal, a course media area, or the My Media section inside your learning management system. Locate the video you want to update.
Open the video’s management page rather than simply playing it. Look for options such as Edit, Actions, Launch Editor, or a pencil icon. In many systems, you must be the video owner, co-editor, or an administrator to add slides. If you can view the video but cannot edit it, request co-editor access from the media owner or your Kaltura administrator.
Step 2: Enter the Video Editing or Timeline Tool
Once you are in the editing area, look for a tab or menu related to the timeline, slides, chapters, attachments, or cue points. Kaltura interfaces in 2026 may use updated player and portal layouts, but the purpose remains the same: you need a place where the video timeline can be associated with slide content.
If your environment includes a dedicated Slides or Timeline option, open it. If you only see basic metadata fields such as title, description, tags, and publishing settings, your role may not include advanced editing rights, or the slide feature may not be enabled.
At this point, it is wise to confirm that the video is the final version. If you plan to trim the beginning, remove dead air, or replace the media file, complete those edits first. Changing the video duration after slide synchronization can cause slide timings to become inaccurate.
Step 3: Upload the Slide Deck
Use the upload control provided in the slide or timeline tool. Depending on your installation, you may be able to upload a full presentation file, a PDF, or a series of individual image files. If Kaltura converts the deck into slide images, wait until processing is complete before attempting to synchronize.
Name the deck clearly, especially if multiple versions exist. For example, use a descriptive label such as Quarterly Security Training Final Slides rather than Presentation latest. This matters in large media libraries where collaborators may need to audit or update content later.
Image not found in postmetaIf the upload fails, check file size, format, and permissions. Very large decks with high-resolution images can exceed local limits. In that case, compress the presentation, export it to PDF, or split it into smaller sections. If your organization manages Kaltura through an LMS, also confirm that browser pop-up blockers or third-party cookie restrictions are not interfering with the editor.
Step 4: Synchronize Slides with the Video
After the slides are uploaded, play the video from the beginning and place each slide at the moment it should appear. The exact workflow may differ, but it typically involves selecting a slide, moving the playhead to the correct timestamp, and saving that slide as a cue point or timeline marker.
Work carefully and methodically. Start with the first title slide, then move through the recording in order. If the presenter changes slides quickly, use the timeline zoom controls if available. For educational or compliance content, accuracy is important because learners may rely on slide navigation to review specific sections.
- Play the video and pause when the presenter begins discussing a new slide.
- Select the matching slide from the uploaded deck.
- Add or update the slide marker at that timestamp.
- Continue until every relevant slide has a timing point.
- Save your changes regularly, especially during long recordings.
Do not assume that every visual slide needs a separate marker. If several slides are shown briefly but not discussed, you may decide to omit them or group that portion under a broader chapter. The goal is to help viewers understand and navigate the content, not to overload the player with unnecessary markers.
Step 5: Add Chapters or Section Labels
Many high-quality Kaltura presentations combine slides with chapters. Chapters act like major section markers, while slides provide more detailed visual navigation. For example, a training video might include chapters such as Introduction, Policy Overview, Scenario Review, and Final Assessment.
Use concise, professional chapter titles. A viewer should be able to scan the chapter list and understand the structure of the session quickly. This is especially valuable for longer videos, where slide-by-slide navigation may be too detailed for someone looking for a specific topic.
Step 6: Provide the Deck as an Attachment If Needed
Even when synchronized slides are available, it is often helpful to provide the original deck or a PDF version as an attachment. This allows viewers to download the material for note-taking, offline review, or accessibility purposes.
In the video editing area, look for an Attachments tab or file upload option. Upload the PDF or approved presentation file, then give it a clear display name. If the deck contains confidential information, verify that the video’s publishing destination and access permissions are appropriate before making it available.
For regulated industries, internal training, or academic records, keep version control in mind. If the slides are updated later, replace the attachment and consider whether the synchronized slide images also need to be updated.
Step 7: Review Playback as a Viewer
After saving your slide timings, open the video as a regular viewer. Do not rely only on the editor preview. Test the experience in the published location, such as the course page, media gallery, or portal channel where the audience will actually watch it.
- Confirm that the slides appear at the correct times.
- Check that slide text is readable in the player.
- Test navigation by clicking slide markers or chapters.
- Verify that captions do not cover important slide content.
- Check playback on at least one desktop browser and one mobile device.
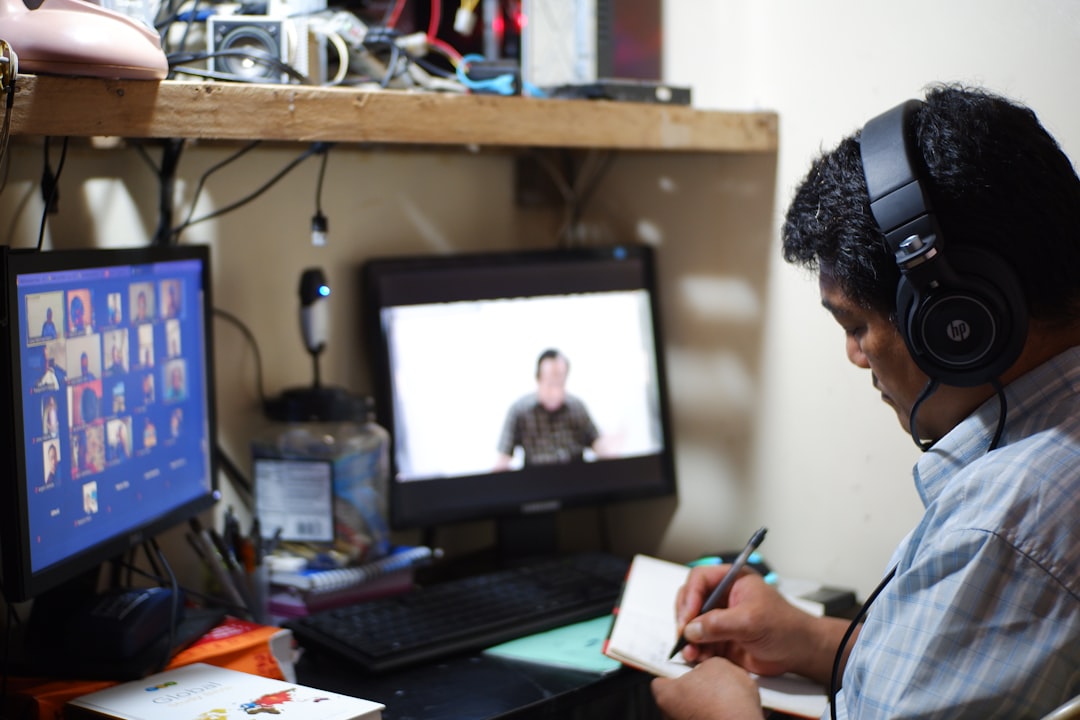
If captions overlap essential slide text, adjust the player layout if your system permits it, revise the slide design, or provide the deck as a separate downloadable file. Accessibility is not an optional final step; it is part of publishing responsible video content.
Alternative: Record the Slides with Kaltura Capture
If your Kaltura environment does not allow slide synchronization after upload, you can use Kaltura Capture to record a presentation while the slide deck is displayed on screen. Open your slideshow, start Kaltura Capture, select the screen or window that contains the presentation, and record the narration or camera feed as needed.
This method is straightforward and reliable, but it is less flexible. Viewers will see the slides as part of the video image rather than as separate navigable slide elements. If you later discover a typo or need to replace a slide, you may need to edit or re-record that portion of the video.
Common Problems and How to Avoid Them
The slide upload option is missing. This usually means the feature is disabled or your account lacks permission. Contact your administrator and ask whether slide cue points, timeline editing, or advanced editing tools are enabled for your role.
The slides are out of sync. This often happens when the video was trimmed after synchronization. Finalize video edits before adding slides, or be prepared to adjust the timestamps afterward.
The deck looks different after upload. Export the deck to PDF or images to preserve fonts, spacing, and layout. Avoid uncommon fonts and complex animations.
Viewers cannot access the attachment. Check publishing permissions, course availability dates, and file-level restrictions. In LMS environments, the video may be visible while the attachment is restricted by a different setting.
Final Checklist Before Publishing
- Video edited: Trims, cuts, and replacements are complete.
- Slides prepared: The deck is final, readable, and accessible.
- Slide timings checked: Each key slide appears at the correct moment.
- Captions reviewed: Captions are accurate and do not obstruct important content.
- Attachments verified: Downloadable files are current and approved.
- Permissions confirmed: The intended audience can view the video and related materials.
Adding a slide deck to a Kaltura video in 2026 is not difficult, but it should be handled with care. A properly synchronized deck improves comprehension, supports review, and gives viewers a more professional learning experience. By preparing the presentation, using the correct Kaltura editing tools, testing playback, and checking accessibility, you can publish a video that is clear, navigable, and dependable for your audience.
Leave a Reply